
Solar energy is taking the world by storm, and for good reason. It’s clean, sustainable, and can significantly reduce your electricity bills. Whether you’re a seasoned solar enthusiast or just starting to explore the world of photovoltaics, understanding the ins and outs of solar panel connectors is crucial. In this comprehensive guide, we will demystify solar panel connectors, explaining their importance, types, installation, and common issues. By the end of this article, you’ll have a clear understanding of how to ensure a reliable and efficient connection for your solar panel system.
Chapter 1: The Role of Solar Panel Connectors
Before delving into the specifics, it’s essential to understand the vital role that connectors play in a solar panel system.
- Electrical Connection: Solar panel connectors serve as the bridge between individual solar panels and the rest of the system. They enable the flow of electricity generated by the panels to the inverter and, ultimately, your home’s electrical system.
- Safety: Proper connectors ensure the safe transmission of electricity, reducing the risk of electrical faults and fires.
- Maintenance: Connectors allow for easy maintenance and troubleshooting of your solar panel system.
Chapter 2: Types of Solar Panel Connectors
There are several types of connectors used in solar panel installations, each with its unique characteristics:
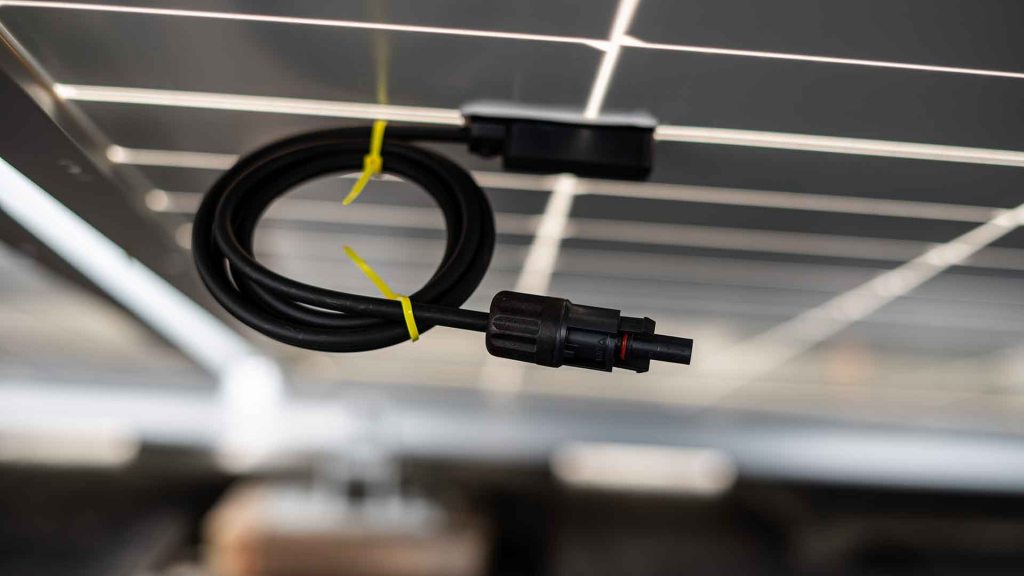
- MC4 Connectors: MC4 connectors are the most common type in residential solar installations. They are known for their weather resistance and reliability. MC4 connectors come in two parts: male (MC4+) and female (MC4-).
- Amphenol H4 Connectors: Amphenol H4 connectors are another popular choice. They are durable and compatible with a wide range of solar panels.
- Tyco Solarlok Connectors: These connectors are known for their robust design and secure connections. They are often used in commercial solar installations.
- SMK Connectors: SMK connectors are lightweight and compact, making them suitable for smaller solar panel systems.
Chapter 3: Connector Installation
Proper installation of solar panel connectors is critical to ensure the longevity and efficiency of your system.
- Safety Precautions: Before working with connectors, ensure that your solar panel system is completely shut down to prevent electrical accidents.
- Prepare the Cables: Trim and strip the ends of your solar panel cables to expose the conductive wires.
- Connect the Wires: Attach the male and female connectors to the corresponding wires, ensuring a secure and snug fit.
- Use Proper Tools: Invest in high-quality crimping tools and cable cutters to make clean and secure connections.
- Weatherproofing: Apply weatherproof seals or heat-shrink tubing to protect the connectors from environmental factors like moisture and UV radiation.
- Test the Connections: After installation, test the connections using a multimeter to ensure that there are no voltage drops or loose connections.
Chapter 4: Common Connector Issues and Solutions
Even with proper installation, connector issues can arise over time. Here are some common problems and how to address them:
- Connector Degradation: Exposure to the elements can cause connectors to degrade. Regularly inspect and replace damaged connectors.
- Loose Connections: Over time, connectors can become loose due to thermal expansion and contraction. Check and tighten connections periodically.
- Corrosion: Corrosion can occur if connectors are exposed to moisture. Use anti-corrosion sprays or grease to protect connectors.
- Incompatibility: Make sure you are using compatible connectors for your solar panels and inverter.
- Wiring Errors: Double-check the wiring to ensure that positive and negative connections are correctly aligned.
Chapter 5: Connector Maintenance
To maintain optimal performance, it’s important to include connector maintenance in your solar panel system upkeep routine.
- Regular Inspection: Inspect connectors periodically for signs of wear, damage, or corrosion.
- Cleaning: Keep connectors clean and free from dirt and debris, as these can affect conductivity.
- Tightening: Ensure that all connectors are securely tightened to prevent loose connections.
- Replacements: Replace connectors that show signs of damage or deterioration promptly.
Chapter 6: Upgrading Connectors
As technology advances, you may consider upgrading your connectors to improve the performance of your solar panel system. Upgrades can include switching to higher-efficiency connectors or those designed for extreme environmental conditions.
Chapter 7: Conclusion
Solar panel connectors are the unsung heroes of your photovoltaic system. They ensure the efficient and safe flow of electricity from your panels to your home. By understanding the types of connectors available, following proper installation procedures, and staying vigilant with maintenance, you can enjoy the benefits of clean and sustainable solar energy for years to come.
Solar panel connectors are a critical component of any solar installation, and knowledge about them is essential for any solar enthusiast. With the information provided in this guide, you’re well-equipped to make informed decisions about your solar panel connectors, ensuring a reliable and efficient solar energy system for your home.
